
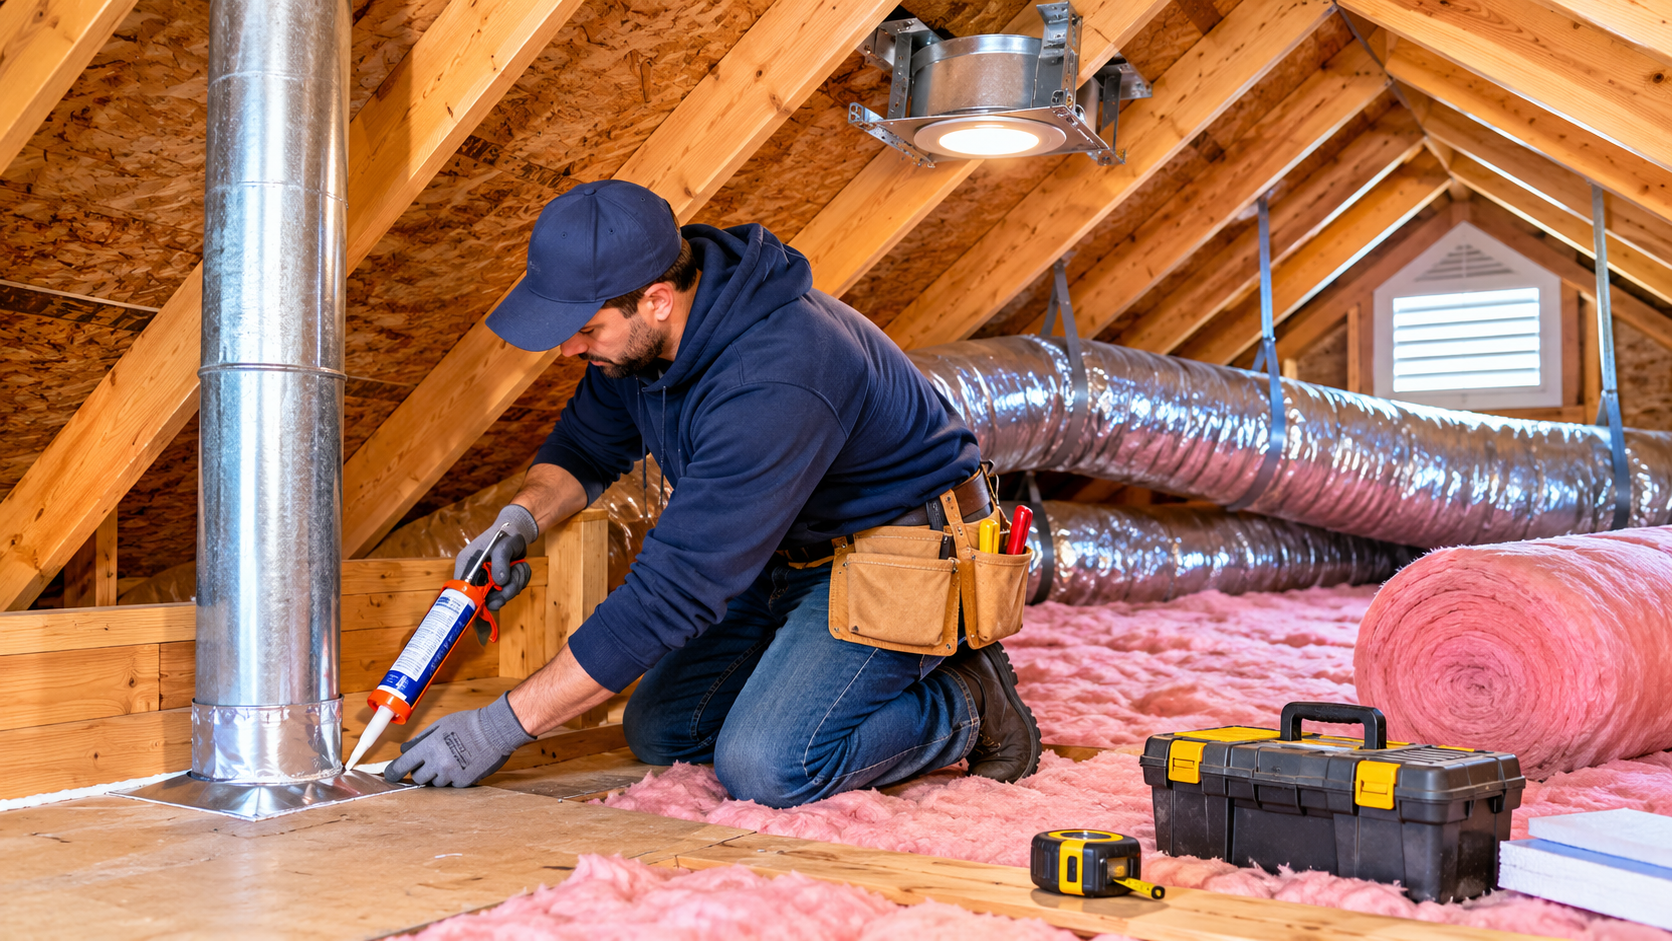
What to Fix in the Attic Before You Add More Insulation
Adding inches of insulation rarely fixes drafty rooms or high utility bills by itself. In most homes, the attic also contains holes, ducts, lights, and vents that let indoor air and moisture move in the wrong directions. If those details are not corrected first, new material can hide problems, trap moisture, or even create fire hazards. This preparation checklist explains the work to complete before the truck shows up to blow in more material. It focuses on air sealing, ventilation protection, heat-source clearances, duct and fan corrections, and access planning so the insulation you add can actually perform to its rated R-value.
- Seal air leaks before you touch the R-value
Start by stopping the stack effect at the attic floor. Look for gaps at top plates, plumbing and flue chases, around bath fans, the pull-down stair opening, and wire penetrations. Before committing to new Attic insulation, use foam or caulk to seal small cracks, and rigid foam plus sealant for larger chases. Seal the attic hatch perimeter and add a weatherstripped, insulated cover. Air sealing reduces convective loops through loose-fill materials and typically delivers more comfort per dollar than simply piling on inches. It also lowers the risk that humid indoor air will reach cold roof sheathing and condense.
One telltale sign of leakage is “ghosting” on existing fiberglass batts: dark dust lines outlining framing or along bath fan housings. That dust traces airflow paths. If you just add more material over those stains, the air will still move, eroding real-world R-value. Sealing first turns the insulation into a true thermal blanket rather than a filter.
- Protect ventilation: soffit intakes, baffles, and wind-washing control
Attic ventilation depends on open soffit intakes feeding a clear channel to ridge or roof vents. Without baffles, new insulation slumps into the eaves and blocks that intake. Install air chutes (also called baffles) at every rafter bay, from the soffit up above the insulation height, and add rigid “dams” along the attic edge to keep loose-fill from spilling. This preserves airflow, prevents moisture buildup at the roof deck, and reduces “wind washing,” where wind across the eaves strips heat out of the insulation zone.
In homes near open fields or coasts, winter winds can drive cold air across shallow eaves and flatten lightweight fibers. Baffles plus a short interior wind block along the top plate create a protected pocket so the full insulation depth reaches the edge without slumping into the soffit. The relationship is simple: clear, channeled ventilation manages moisture; controlled edges protect thermal performance.
- Make heat sources and wiring safe to bury
Combustion flues and chimneys need code-required clearances to combustibles. Before insulating, build metal or mineral-fiber barriers (not foam) to maintain that gap, then seal to the framing with high-temperature sealant to stop air leakage. Recessed lights must be handled case by case. IC-rated fixtures can be covered to the manufacturer’s guidance; non-IC cans need a tested fire-rated cover or an open buffer. Burying non-IC cans or contact with hot fixtures risks overheating. Junction boxes must remain accessible; do not bury them under dense material where they cannot be serviced.
Older homes may still have knob-and-tube wiring. That system cannot be buried under insulation because it relies on free air around the conductors to dissipate heat. If that wiring appears, stop and consult a qualified electrician about replacement or a safe workaround before proceeding. The practical trade-off here is time versus safety: upgrading fixtures and wiring up front avoids carving out awkward, low-R islands around hazards that permanently compromise performance.
- Fix ducts and bath fan terminations before they disappear under insulation
Leaky or uninsulated ducts in the attic are a double penalty: they waste energy and can inject moisture. Seal duct seams and boots with mastic (not cloth tape), insulate supply and return runs to the recommended level, and support flex duct without kinks. Bath and kitchen exhaust fans must terminate outdoors through a dampered roof or wall cap. Venting into the attic or dumping into a soffit cavity loads the space with moisture, which can wet insulation and stain the roof deck.
A common scenario looks like this: a steamy bathroom runs for 20 minutes and blows into the attic through a thin flex line that stops short of a cap. In cold weather, that vapor condenses on the sheathing and frosts. The fix is straightforward but needs doing before insulation: run smooth or insulated duct with a slight slope to prevent condensation pockets, connect it to a proper cap, and air-seal the fan housing to the drywall below.
- Plan access, depth, and material for your attic conditions
Insulation is only as good as what happens the day after. Create catwalks and service platforms to HVAC and water heaters so future work does not churn up the blanket. Build insulation dams around the hatch, catwalk edges, and eaves. Add depth rulers in a few spots so you can verify settled thickness later. Install an insulated, gasketed hatch or stair cover to bring that opening up to the surrounding R-value, and label any buried mechanicals for future trades.
Choose materials to match the attic. Loose-fill fiberglass is light and can be blown deep quickly across open joists. Cellulose tends to fill around irregularities and can reduce small air currents through the layer when installed at proper density. Spray foam can create both insulation and an air barrier when used to convert a vented attic to an unvented, conditioned assembly, but that changes how the roof handles moisture and calls for professional design. In colder climates, a smart vapor retarder at the attic floor can help manage seasonal moisture drives; in hotter climates, keeping ventilation pathways clear and controlling attic heat gain with adequate R-value is often the priority. The trade-off to consider is simplicity and cost versus control of air and moisture; picking the right system for your house matters more than the brand of material.
Bringing all of this together takes a plan: seal first, protect ventilation, make heat sources safe, fix ducts and fans, then add the right depth of material and preserve access. A quick self-check a few weeks after installation helps catch issues early. Open the hatch on a dry day, confirm baffles are still in place at the eaves, look for damp spots on sheathing, and make sure the hatch gasket is intact. With those basics handled up front and a brief follow-up, your new insulation has a clear path to perform for the long haul.